
Biopsy Forceps
Spring 2023 - Fall 2025
Alongside a research group (Dr. Mouen Khashab's group) in the department of Gastroenterology at Johns Hopkins University School of Medicine, I designed and built a medical biopsying tool. The tool was built to collect biopsies in areas where a traditional biopsy forceps couldn't reach. These hard to reach areas were the walls of small conduits such as the bile ducts.
-

Here is the commonly used biopsy forceps (the one that can’t collect biopsies from the walls of small conduits).
-

This is a close up of the forceps jaws.
-

This is a visual of the limitation of the currently used forceps.
-

First, I tried using the currently used forceps idea with a slight modification.
-

This model didn't work since it was not able to achieve the angle that was required to reach the previously unreachable tissue.
-

I abandoned the model from the previous slide and designed this prototype. The idea was that vacuum would be applied through the tube and tissue would be sucked through the opening on the side of the tube. The jagged edges were supposed to slice the tissue when the user pulled abruptly.
-

This is a more developed prototype of the previous picture. Here I fixed a syringe to be able to test the design with vacuum pressure.
-

Upon tests, the previous prototype didn’t work. I designed another prototype using the same concepts. This one is much smaller and the edges are sharper.
-

I played around with this concept for a little. Here is another iteration.
-

A lot of tissue was sucked in. Although it was able to collect some tissue, it was very inconsistent in the amount of tissue collected. This inspired me to continue making vacuum-based prototypes but to try different cutting mechanisms.
-
Here is the size difference between my prototype and a currently used forceps. The tissue in the middle is collected by my tool... It is too small.
-

This is another model. I am using the same vacuum principle but trying a different cutting mechanism. The idea was that once the tissue would be sucked into the port cut into the side of the tube (right below the blue collar), the metal collar would be pulled down and cut the tissue.
-

I often tested prototypes in pig stomachs. They were cheap and easy to buy. This is a depiction of the prototype in the previous slide getting tested. It sucked a lot of tissue in!
-

While the prototype was able to suck in a lot of tissue, it wasn’t able to cut the tissue well. This inspired me to continue using suction - now I had to find a better way to cut.
-

Another depiction of the prototype sucking in a lot of tissue.
-

This is a version of the previous design. The cutting mechanism is a snare wire instead of a collar. All these models sucked in tissue well, but would not cut the tissue well.
-

This is another angle of the previous slide.
-

Another constraint was the size. My tool needed to be inserted through a 4.2mm endoscope. This very small size was very tricky to meet.
-

These are two iterations of the same prototype. The yellow tip one had a more efficient vacuum port.
-

This is a setup of the experiment.
-

The vacuum was sufficient. A lot of tissue was sucked inside. However, there was a lot of difficulty to cut it. The cutting problem prevails!
-

This is how I applied vacuum to the prototypes. I made this fixture to fix to a syringe.
-

I often used pig stomach to test prototypes. A cheap and easy to get animal model!
-

Here is another model. It is using the same concept of suction. The cutting mechanism on this model is a manually operated sharp metal cylinder.
-
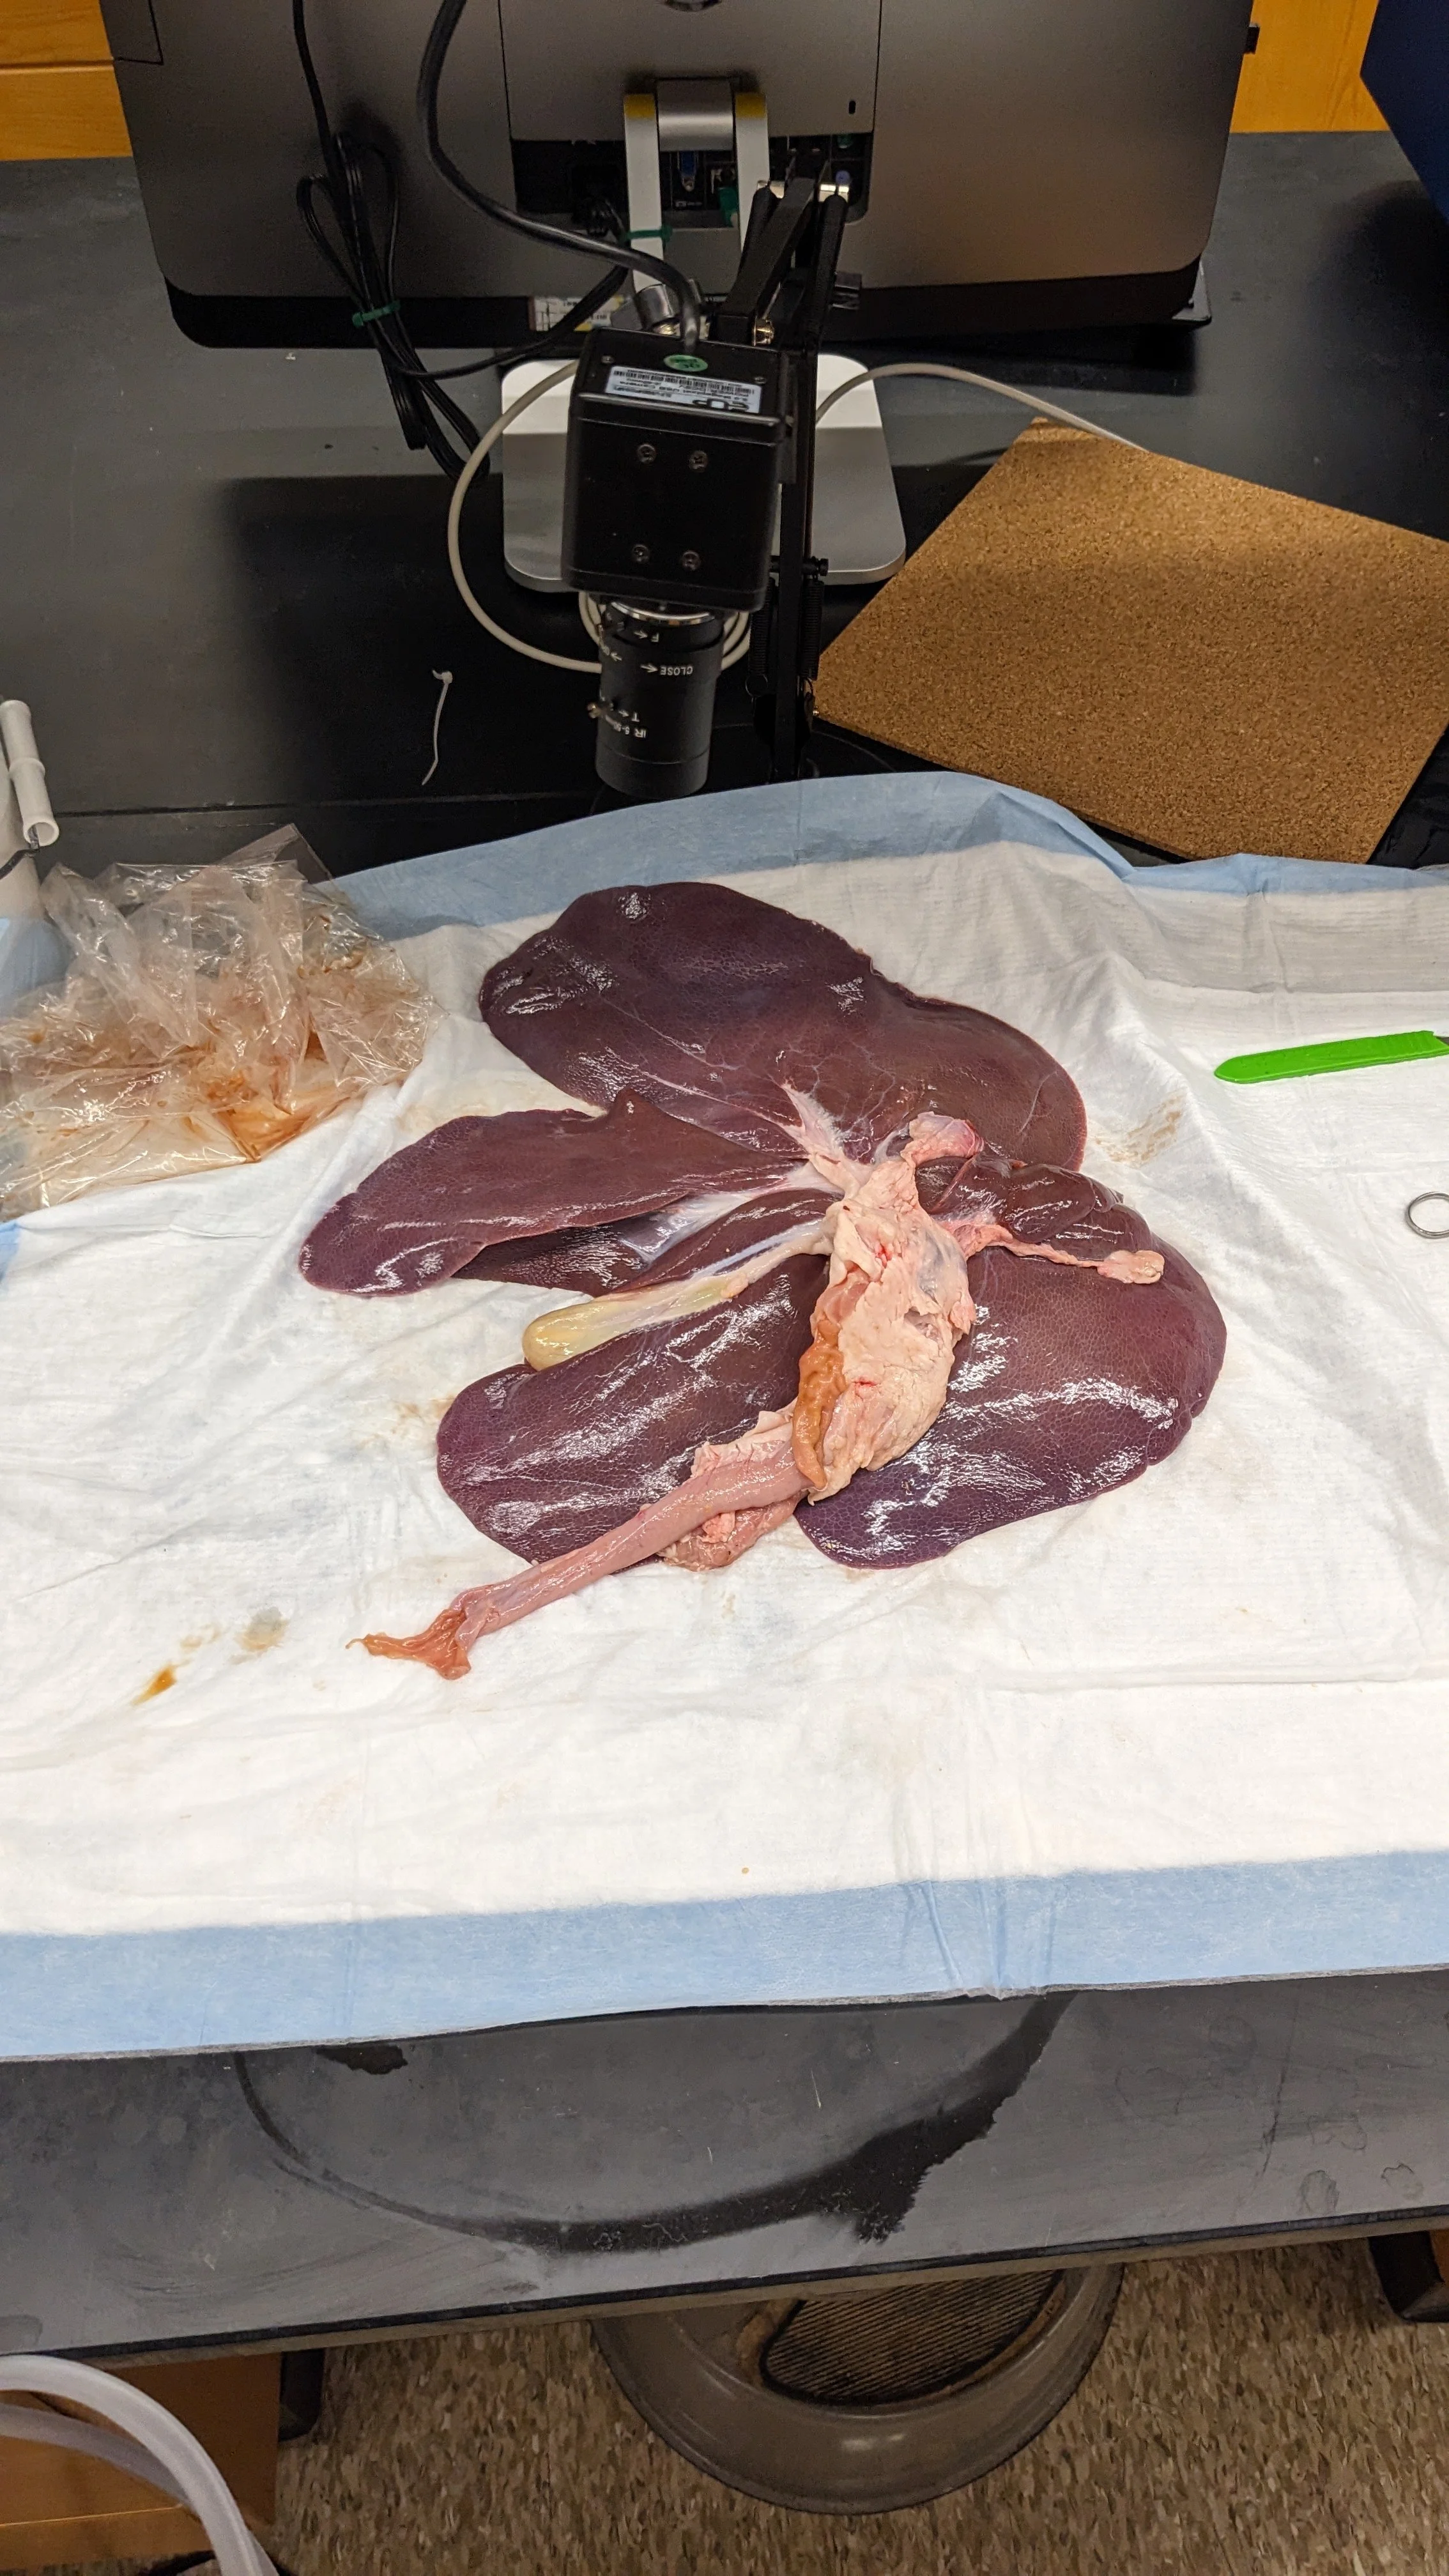
I would occasionally use pig livers to try to find bile ducts to test on. I had to buy these from a butcher shop.
-

This shows the model from two slides ago. This method works quite well to cut the tissue! Now I needed to find a method to make this way smaller (4.2mm outer diameter).
-

This is the model getting tested. The vacuum works well and the cutting worked better than all the other cutting mechanisms.
-

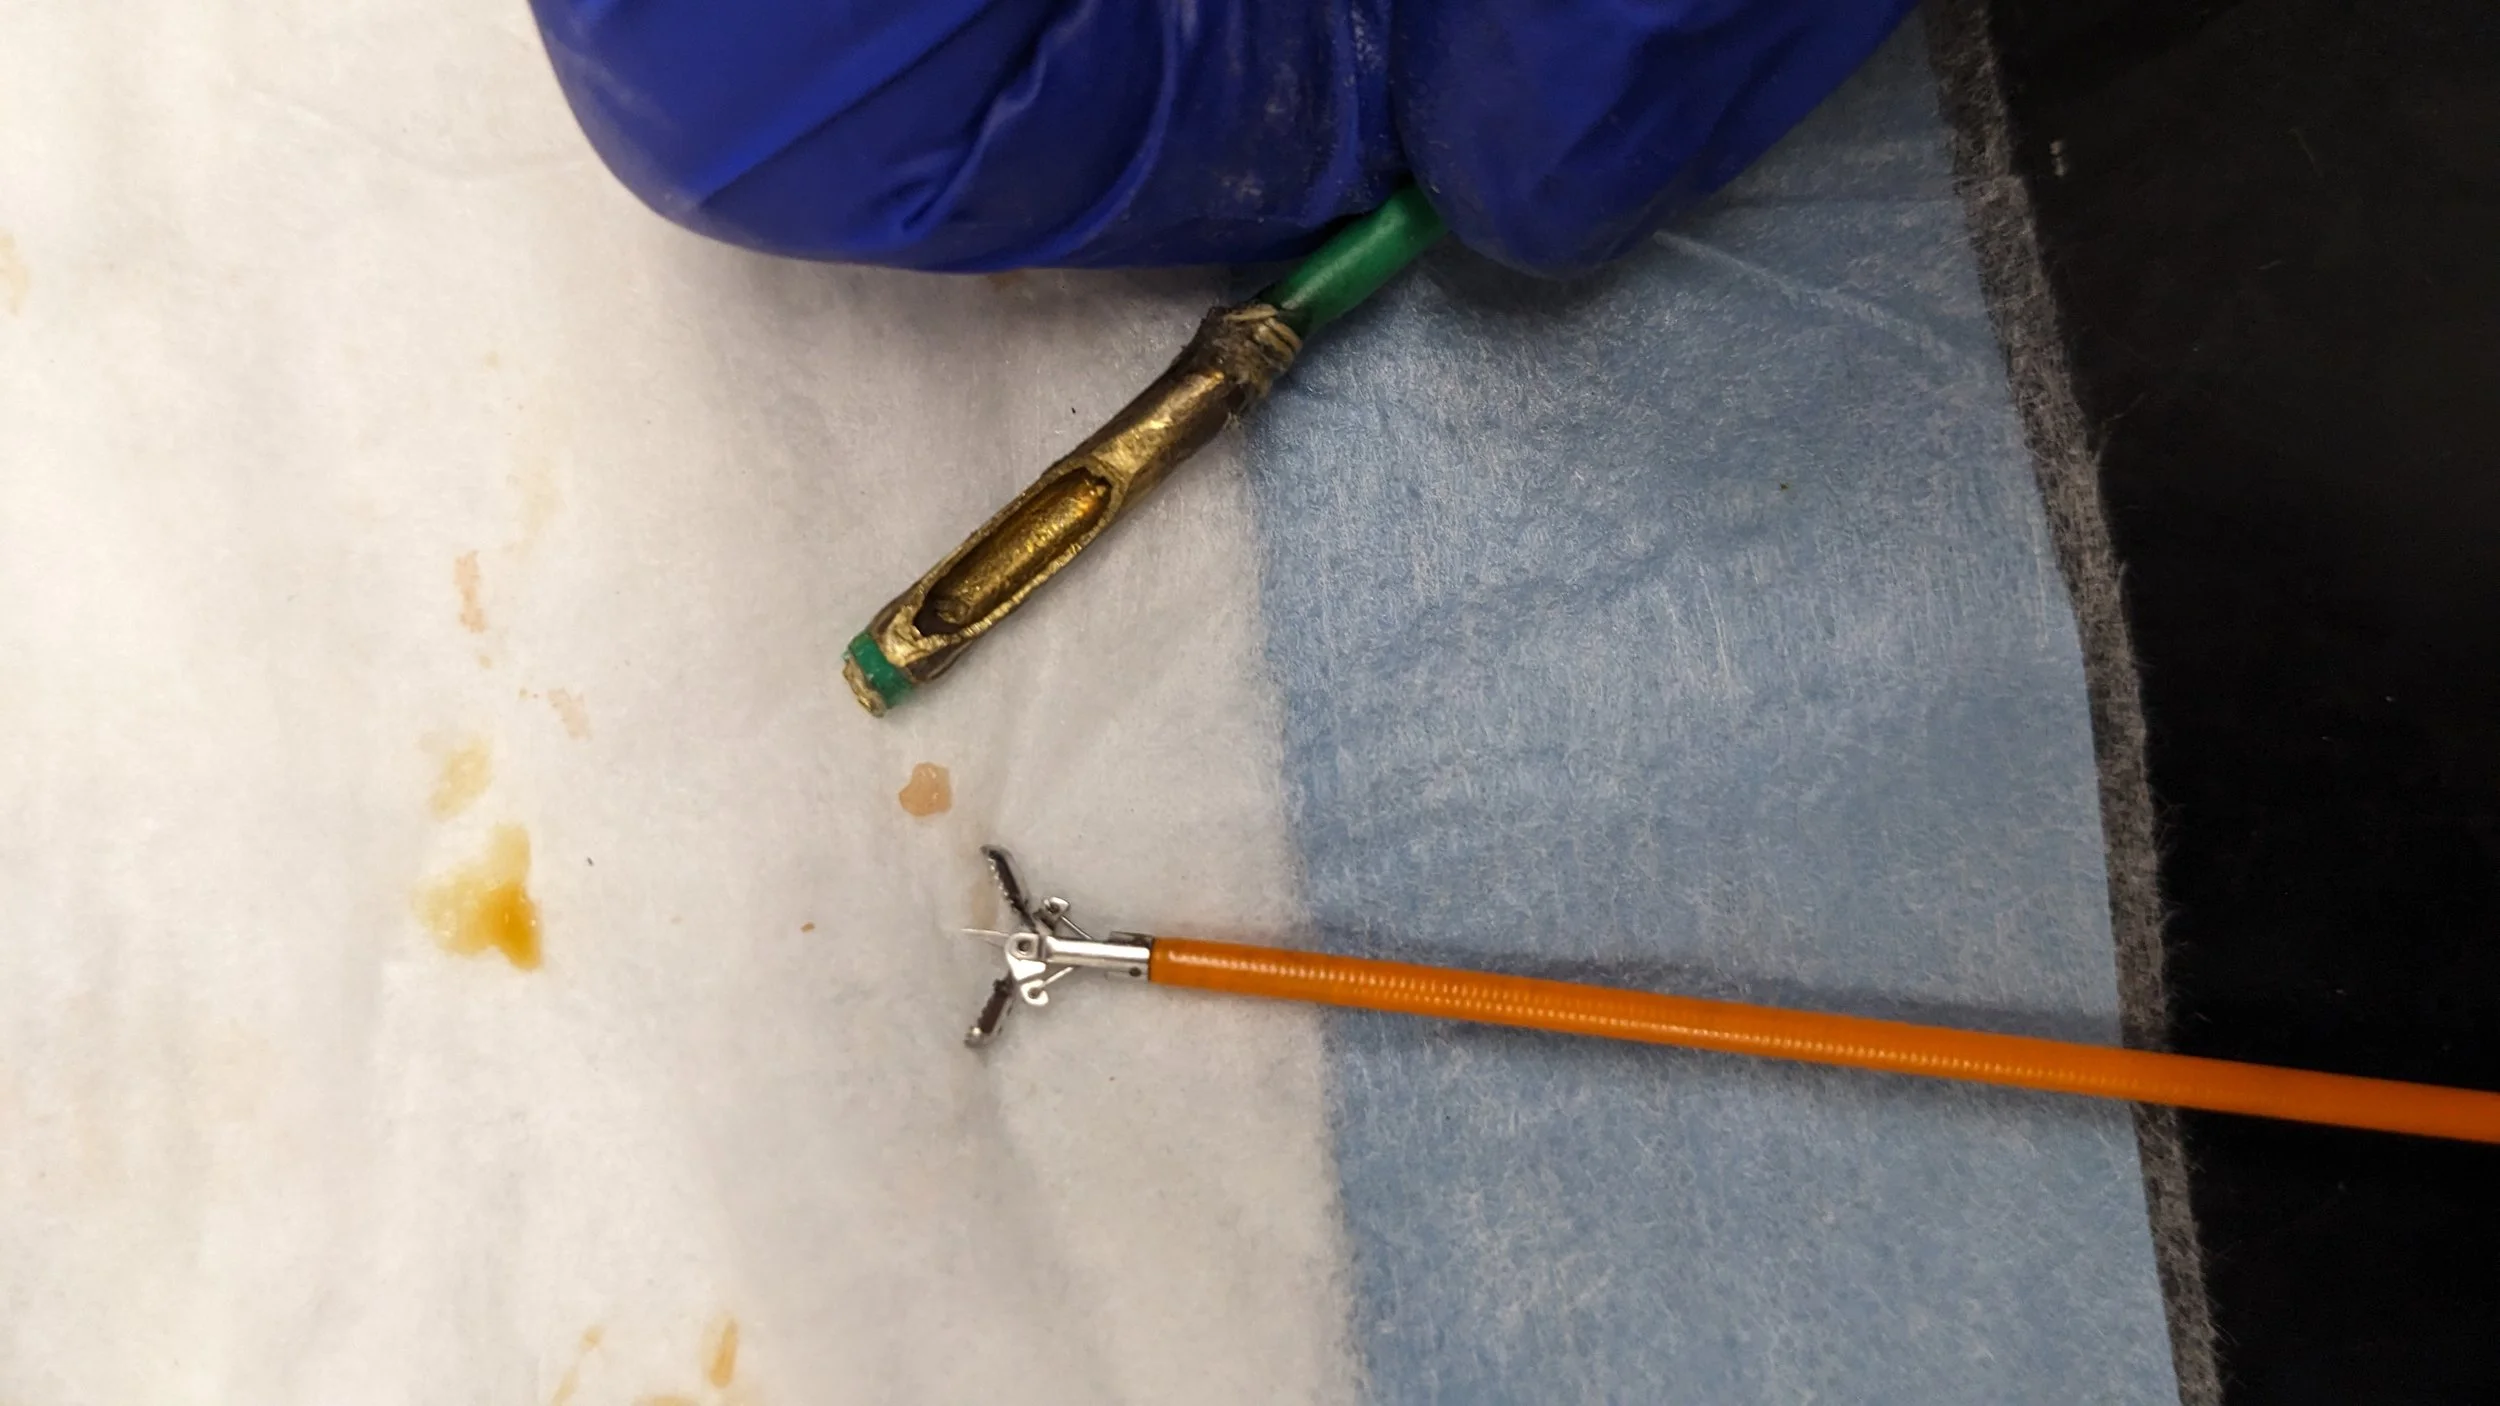
The adaptation I made was to use a body piercing needle as the blade. This blade would be operated by the user.
-

Here is a picture of the final design. The blade is tucked in the main lumen at the top of the tube (left of the image).
-

This is the result of the testing. The device was able to collect samples like this consistently. I was very pleased to see this.
-

Here is a close up of the tool.
-

This is more testing of the tool. The wire in the tip of the tool was a guide wire that was fed through a lumen in the tube.
-

This is a picture of me doing final testing of the device in the lab. It worked!
-

Another picture of me doing testing. I am also taking pictures for the abstract and paper I was working on.
-

I got accepted for an oral presentation and poster at the Biomedical Engineering Society international conference. I also have a paper in press on this project - see the publications tab of this website.